 Home
HomeAll Hacks
Zetec Engine
SPI Engine
General
Suspension
Interior
Exterior
In-Car-Entertainment
Detailing and Cleaning
Maintenance
Miscellaneous
IndiGLO odometer hack
So you have IndiGLO Gauges... And you think the incandescent light through a green plastic piece makes your odometer look out of place? Here's a way to make it REALLY IndiGLO like the rest of your cluster!
Jim Blade, one of our readers, notified us that this hack may not work on 03 and newer Foci. We're looking into why it won't work, but for the time being, it looks like this hack may cause permanent damage and require replacement of the (expensive) gauge cluster.
Time Required:
About an hour
Tools Needed:
Procedure:
Taking Apart the Gauge1) Take out the three Philips Screws holding the dash bezel in
2) Remove the connector for the Trunk/Hatch Release Button3) Remove the four small bolts holding the cluster into the dash
4) Using a small screwdriver, pry black lever open to release the cluster from the electrical connector.5) Remove the cluster from the Dash
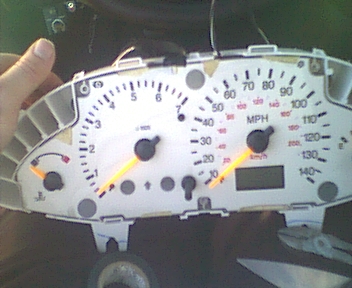
6) Pop open all four tabs to release the lens from the gauges7) Using a TORX Screwdriver, undo the three TORX screws holding the gauges in the cluster.
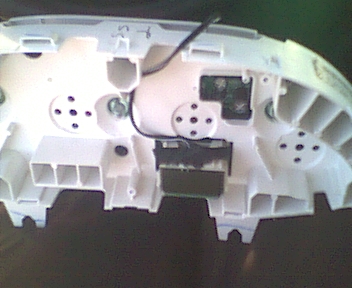
8) Pull the gauge face firmly out of the cluster. You'll see some light bulbs and the LCD Display left in the cluster.9) Using the small screwdriver, very carefully pry the black bezel off that surrounds the Raised LCD Odometer.
10) Pull the top of the LCD forward to expose the material on the back of the Display.11) With a fingernail or small screwdriver, peel the green tint off the back of the LCD. Keep the Green Tint, Move the Gauge components aside.
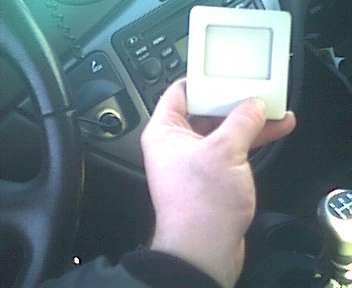
Gutting the LimeLight for it's Electroluminescent Film And Putting stuff Back Together!1) Take the LimeLight in your hand.
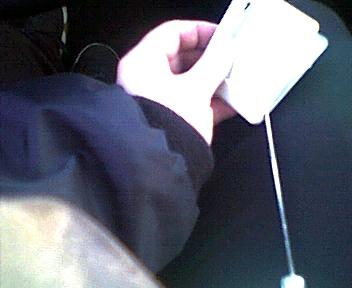
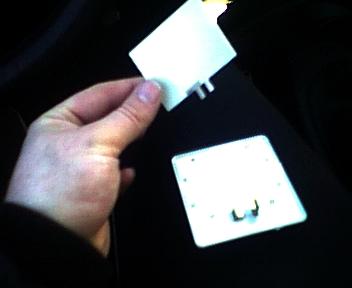
3) Remove the EL Film from inside the Light
 5) Wrap the wires around each metal tab and secure them with electrical tape or optionally solder. Make sure these wires do not touch each other and that they're very secure.
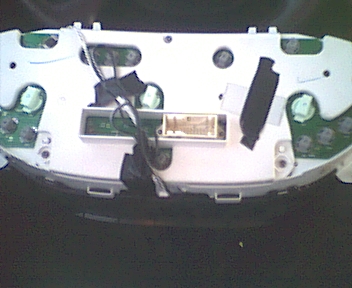
6) You may want to cut the plastic tabs that are on the top behind the LCD because they'll get in the way of our new electroluminescent material. Then, place the new material behind the LCD just like the old piece was. Secure it to the top of the plastic housing with electrical tape so it is out of the way of the connection for the Tach.
8)Secure the loose wire inside the cluster with tape so it does not move all over the place! We'll connect it to power in a bit.
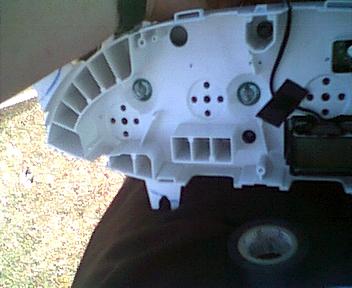
9) Insert the gauges back into the cluster, making sure the odometer backlight wires stick out the top of the cluster.

11) Notice I taped the old green filter to the back of the cluster just in case I want to un-do this Hack. I secured all excess wire to the back of the cluster too.

13) Put the three TORX Screws back in the Gauge face.
14) Snap the lens back onto the cluster.15) Secure the cluster in the dash with the four small bolts.
16) Re-Install the dash bezel. Remember to hook up the trunk/hatch release connector!!!Enjoy!
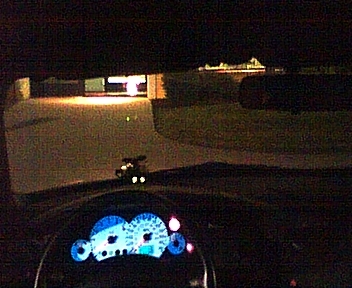
Sorry for the crappiness of this photo! :(
comments powered by Disqus